| Info |
|---|
Note: These are instructions on how to set up a serverless (aka offline) setup for CVAT. We usually stick with the web-based app app.cvat.ai which does not require any of these steps. |
| Expand | ||||
|---|---|---|---|---|
| ||||
|
Installing the Necessary Programs
Windows Subsystem for Linux (WSL)
| Expand | ||
|---|---|---|
| ||
|
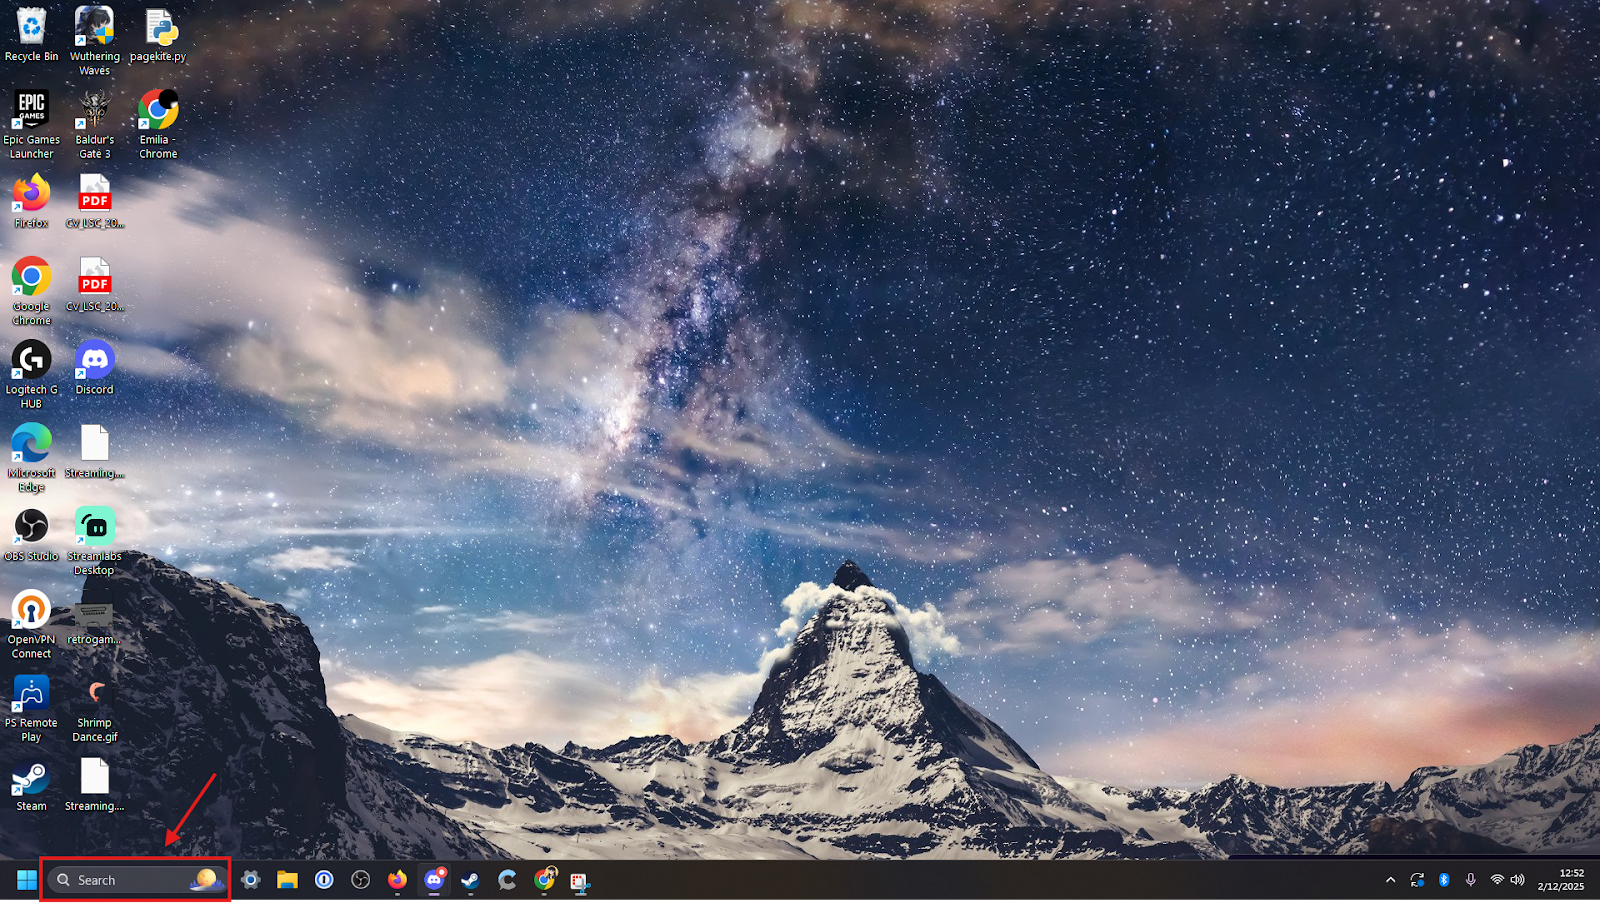
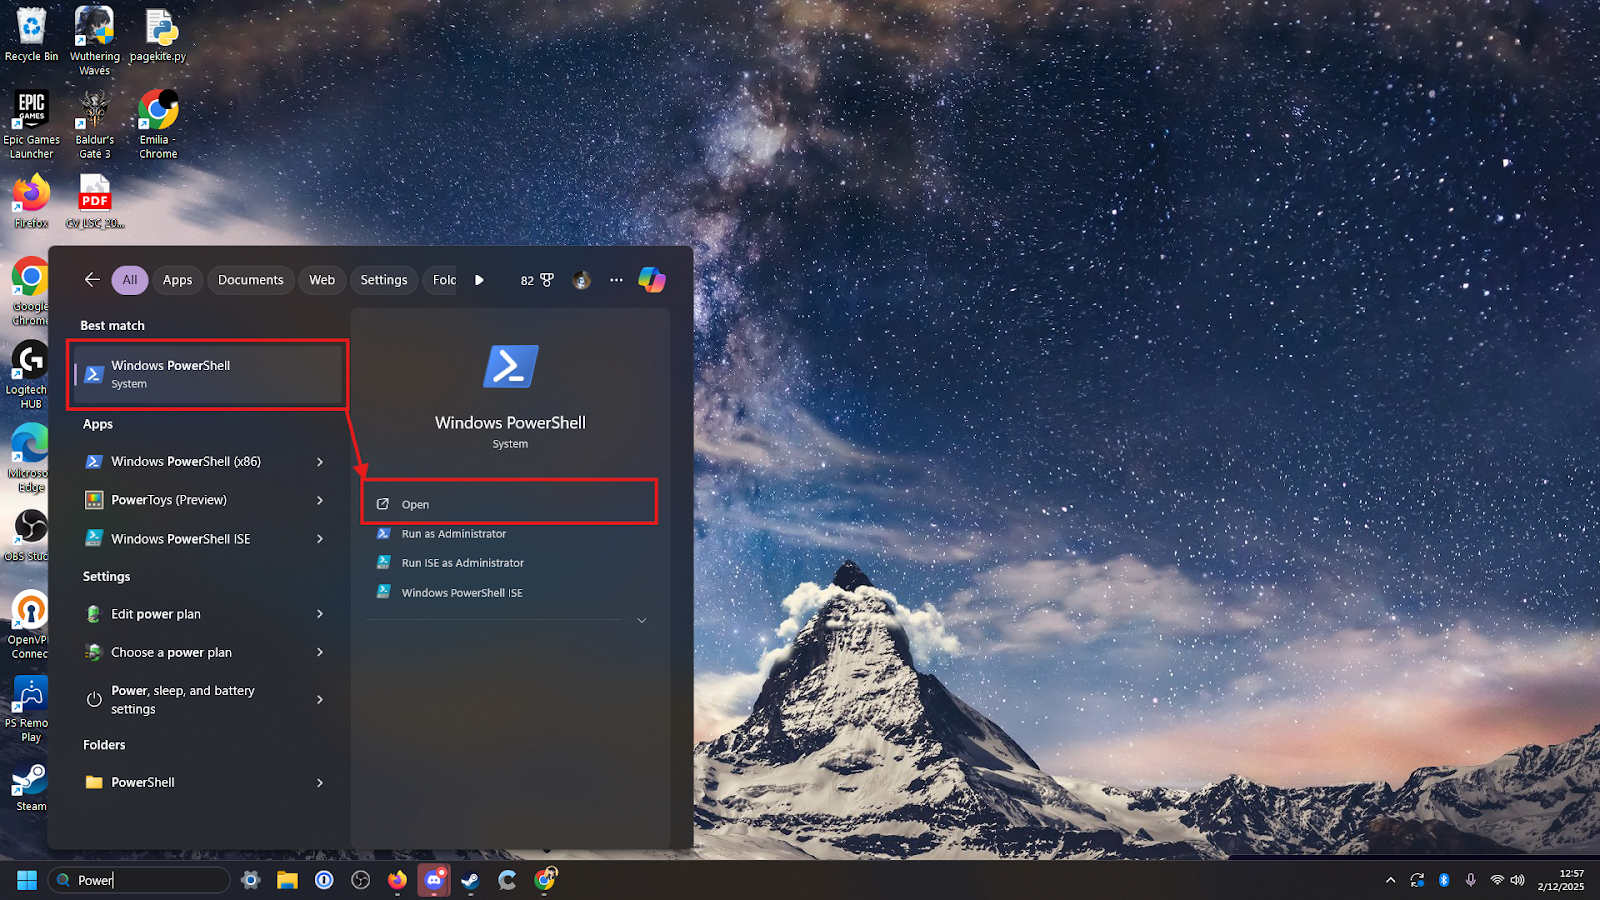
Accessing Windows PowerShell
Using the search bar located on the bottom of the screen, search for “PowerShell”
Open the Windows PowerShell application by either double clicking the application name or by clicking
Open
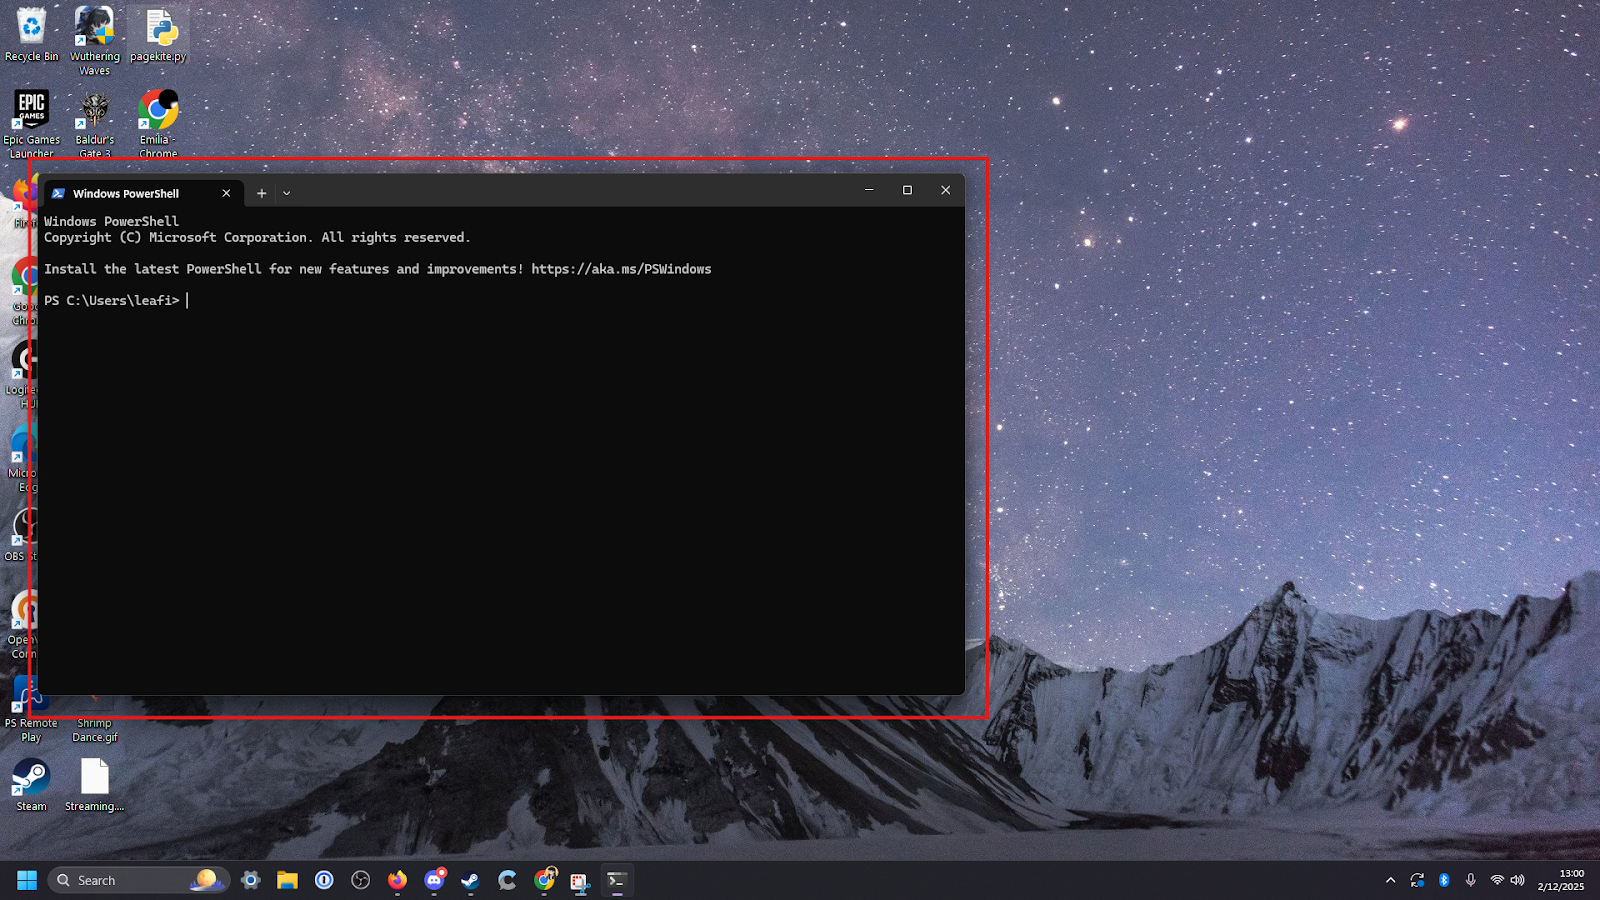
Installing Windows Subsystem for Linux (WSL)
In the
PowerShell terminal, type
Code Block
wsl --installand then hit the
Enterkey
Google Chrome
| title | notes from google docs |
|---|
Install Google Chrome
use winget
The
--installcommand performs the following actions:Enables the optional WSL and Virtual Machine Platform components
Downloads and installs the latest Linux kernel
Sets WSL 2 as the default
Downloads and installs the Ubuntu Linux distribution
| Note |
|---|
After the installation is complete you will need to Reboot your machine. |

Google Chrome
Install Google Chrome
There are multiple methods of installing Google Chrome to your machine but in this guide we will only cover two: installing using winget and installing from a link
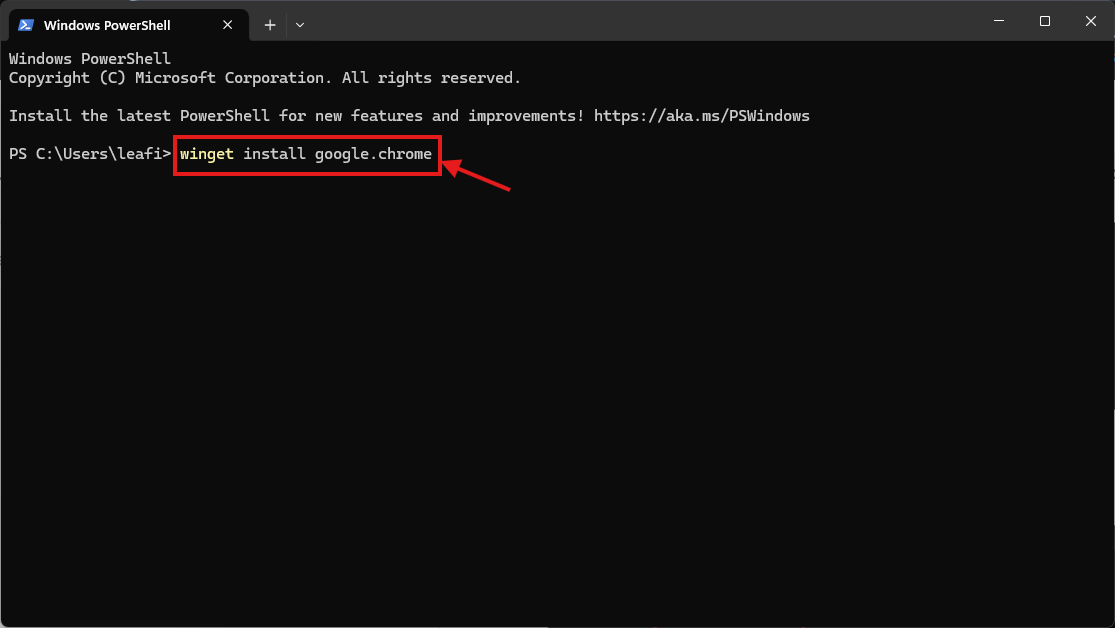
Installing using winget
In Windows PowerShell type the following into the terminal
Code Block winget install google.chrome
and then press
Enter
To see details about the program before you install, run the command winget show google.chrome first
The terminal
may then prompt you
with the following:
Code Block The `msstore` source requires that you view the following agreements before using. Terms of Transaction: https://aka.ms/microsoft-store-terms-of-transaction The source requires the current machine's 2-letter geographic region to be sent to the backend service to function properly (ex. "US").
Do you agree to all the source agreements terms?

[Y] Yes  [N] No:
Type
Yto continue
| Code Block |
|---|
winget show google.chrome |
will show all the details of google chrome
Google Chrome will install to your machine.
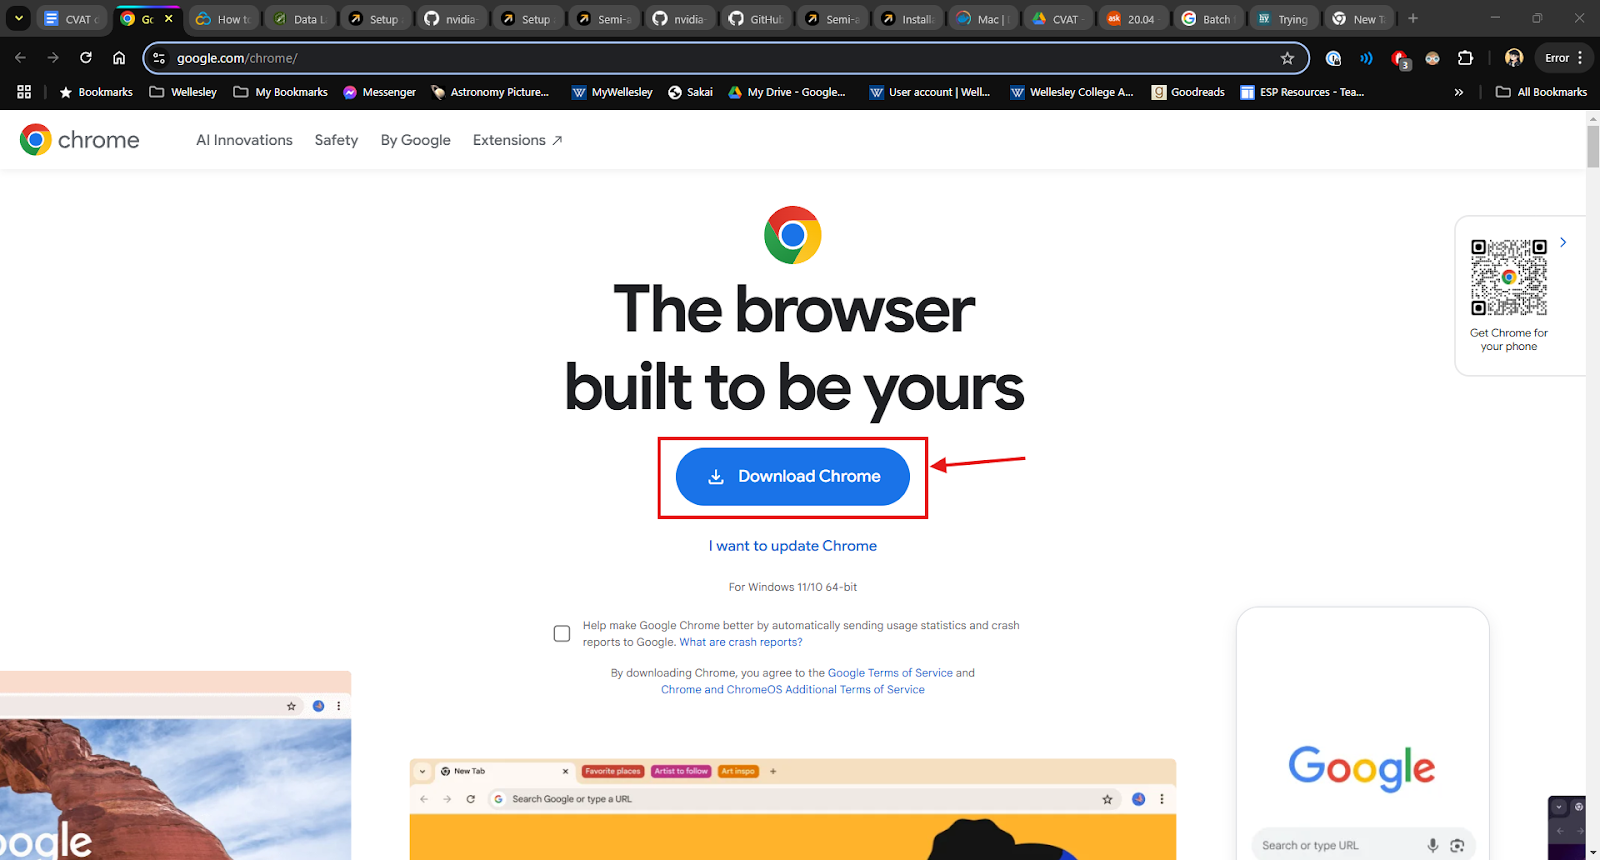
Installing from a link
Open the following link in a web browser of your choosing.
https://www.google.com/chrome/
Direct download link:Click on the
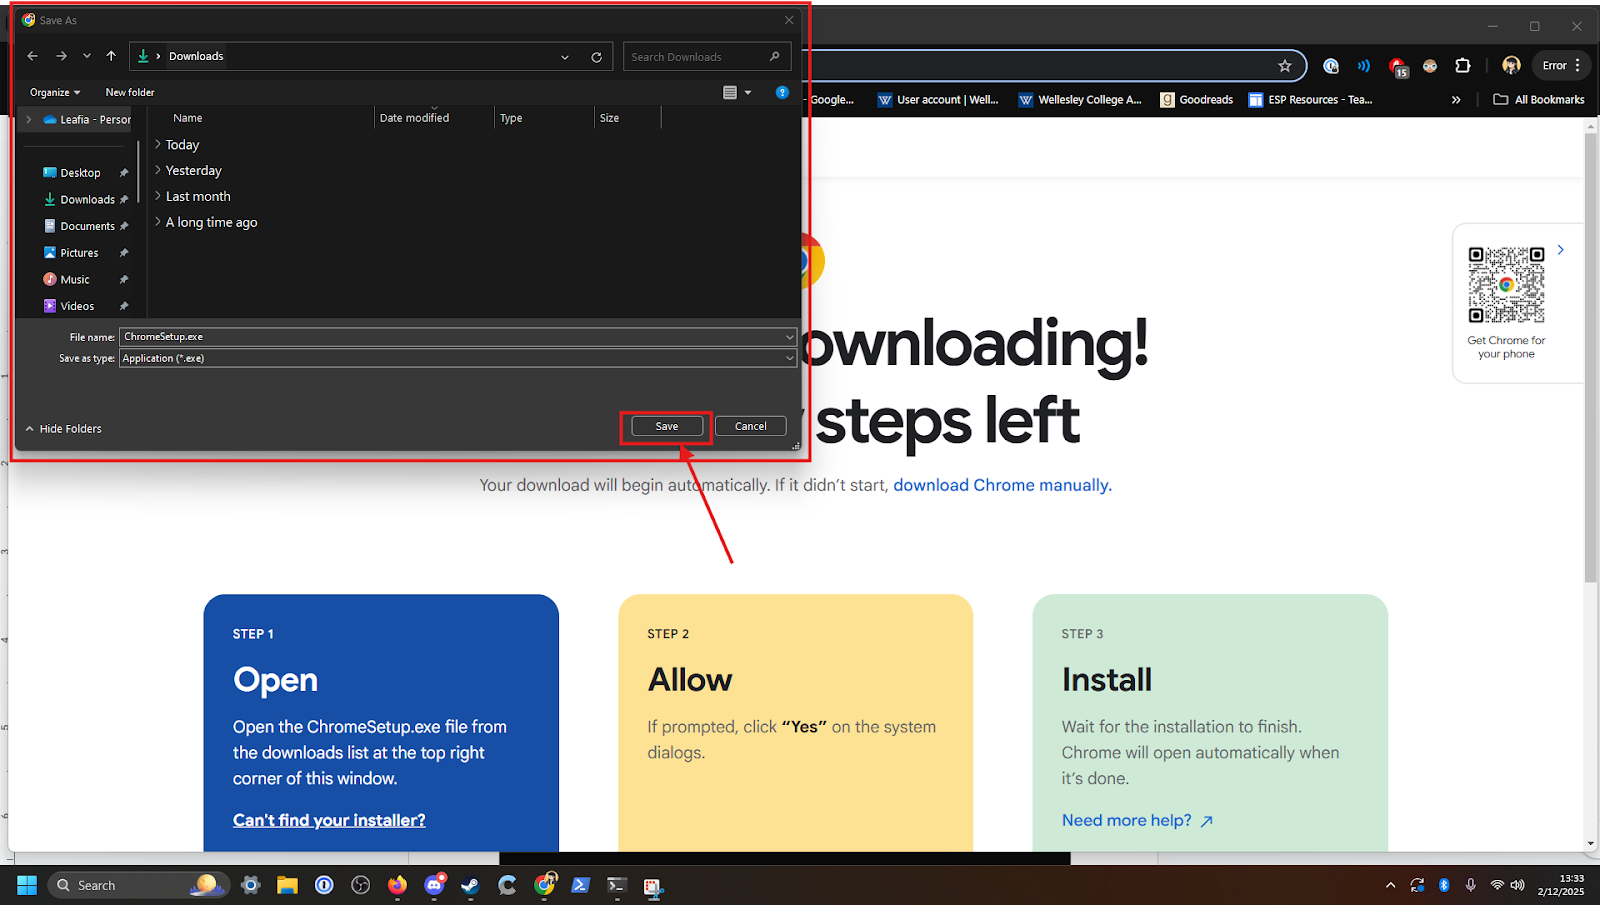
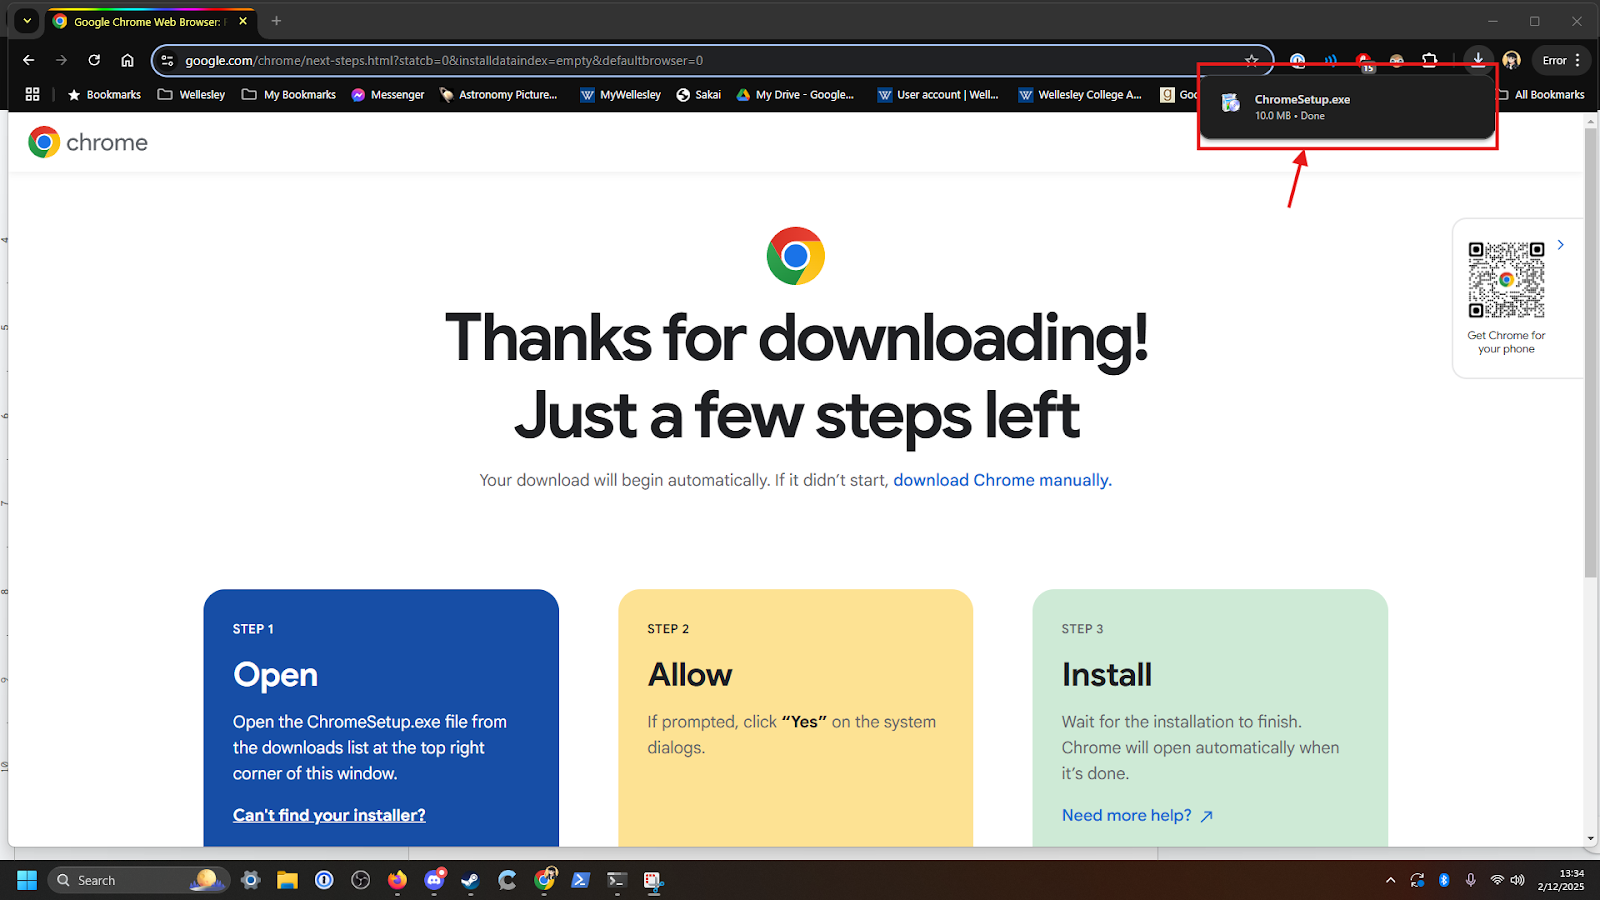
Download ChromebuttonSave the file to your computer
Open the file and follow the prompts
Docker Desktop
| Expand | ||
|---|---|---|
| ||
|
Git
| Expand | ||
|---|---|---|
| ||
|
Windows Terminal
| Expand | ||||
|---|---|---|---|---|
| ||||
Install Terminal (Optional)
Note: for silent install use msiexec, see more at https://learn.microsoft.com/en-us/windows-server/administration/windows-commands/msiexec t Note to obtain computer specifications
|
Installing CVAT
| Expand | ||||||||
|---|---|---|---|---|---|---|---|---|
| ||||||||
|
Opening CVAT
| Expand | ||
|---|---|---|
| ||
Opening CVAT
|
Installing the Segment Anything Model (SAM)
| Expand | ||||||||||||||||||
|---|---|---|---|---|---|---|---|---|---|---|---|---|---|---|---|---|---|---|
| ||||||||||||||||||
SAM installation
|
Running CVAT and SAM
| Expand | ||||||||
|---|---|---|---|---|---|---|---|---|
| ||||||||
Starting up CVAT with SAM
|
If SAM is installed
If SAM is not installed
Shutting Everything Down
Stopping CVAT
Stopping Docker
| Expand | ||||
|---|---|---|---|---|
| ||||
To stopdockerDocker containersIn ubuntu type
|